Beeswax Wrap | Fall Quarterly 2018
The Bee's Knees of Kitchenware
 Wax has been used in food preservation for centuries. It can seal jars and kegs and line containers in which food is stored. Beeswax is antifungal and antimicrobial by its very nature to protect bee larvae and the honey that feeds them. Coating natural fabrics like cotton and hemp in beeswax creates a liquid-proof wrap that is still breathable. Historically, hunters would dip large swaths of muslin in wax and wrap fresh game in it to transport it home or store it in ice and snow for the winter.
Currently, there are many beeswax wrap options on the market and they come in all shapes and sizes. Whether you chose to give this tutorial a try or purchase a name-brand version, beeswax wraps are a versatile and sustainable option for various food storage needs. They might not eliminate plastic or aluminum wraps completely from your kitchen staples, but they can help reduce the need for them as most beeswax wraps boast at least 100 uses before they need to be replaced.
Supplies
1 large baking sheet
A roll of parchment or wax paper
1 fabric square made of 100% natural fiber (we used a 20”x20” Co-op bandana)
1 grater or mandolin*
6-to-16 ounces beeswax (we used
roughly 6 ounces)
1 wide-bristle paint brush
1 iron
Directions
1. Preheat oven to 180°F.
2. Cover baking sheet with parchment paper. Place fabric on top of parchment paper and smooth fabric out so it lays flat.
3. Using a mandolin or grater, shave the beeswax on top of fabric so there is enough wax to scatter over the entire piece of fabric.
4. Place in the oven and watch carefully (don’t walk away). The wax will melt in 2 to 10 minutes. Once the wax begins to melt, it will soak the cloth completely.
5. Remove from oven. Use your paint brush to spread the warm wax to the fabric edges. It will cool very fast when removed from the oven, and you might have to repeat heating and brushing a few times.
6. Once the wax is melted completely through the fabric, there will be areas of thicker and thinner wax. We found that once the wax is well incorporated into the fabric, laying more parchment paper over the top and ironing it helps spread the wax more evenly from edge to edge.
7. Once you have the desired ratio of wax across your fabric, allow it to cool for about 15 minutes.
Use & Care
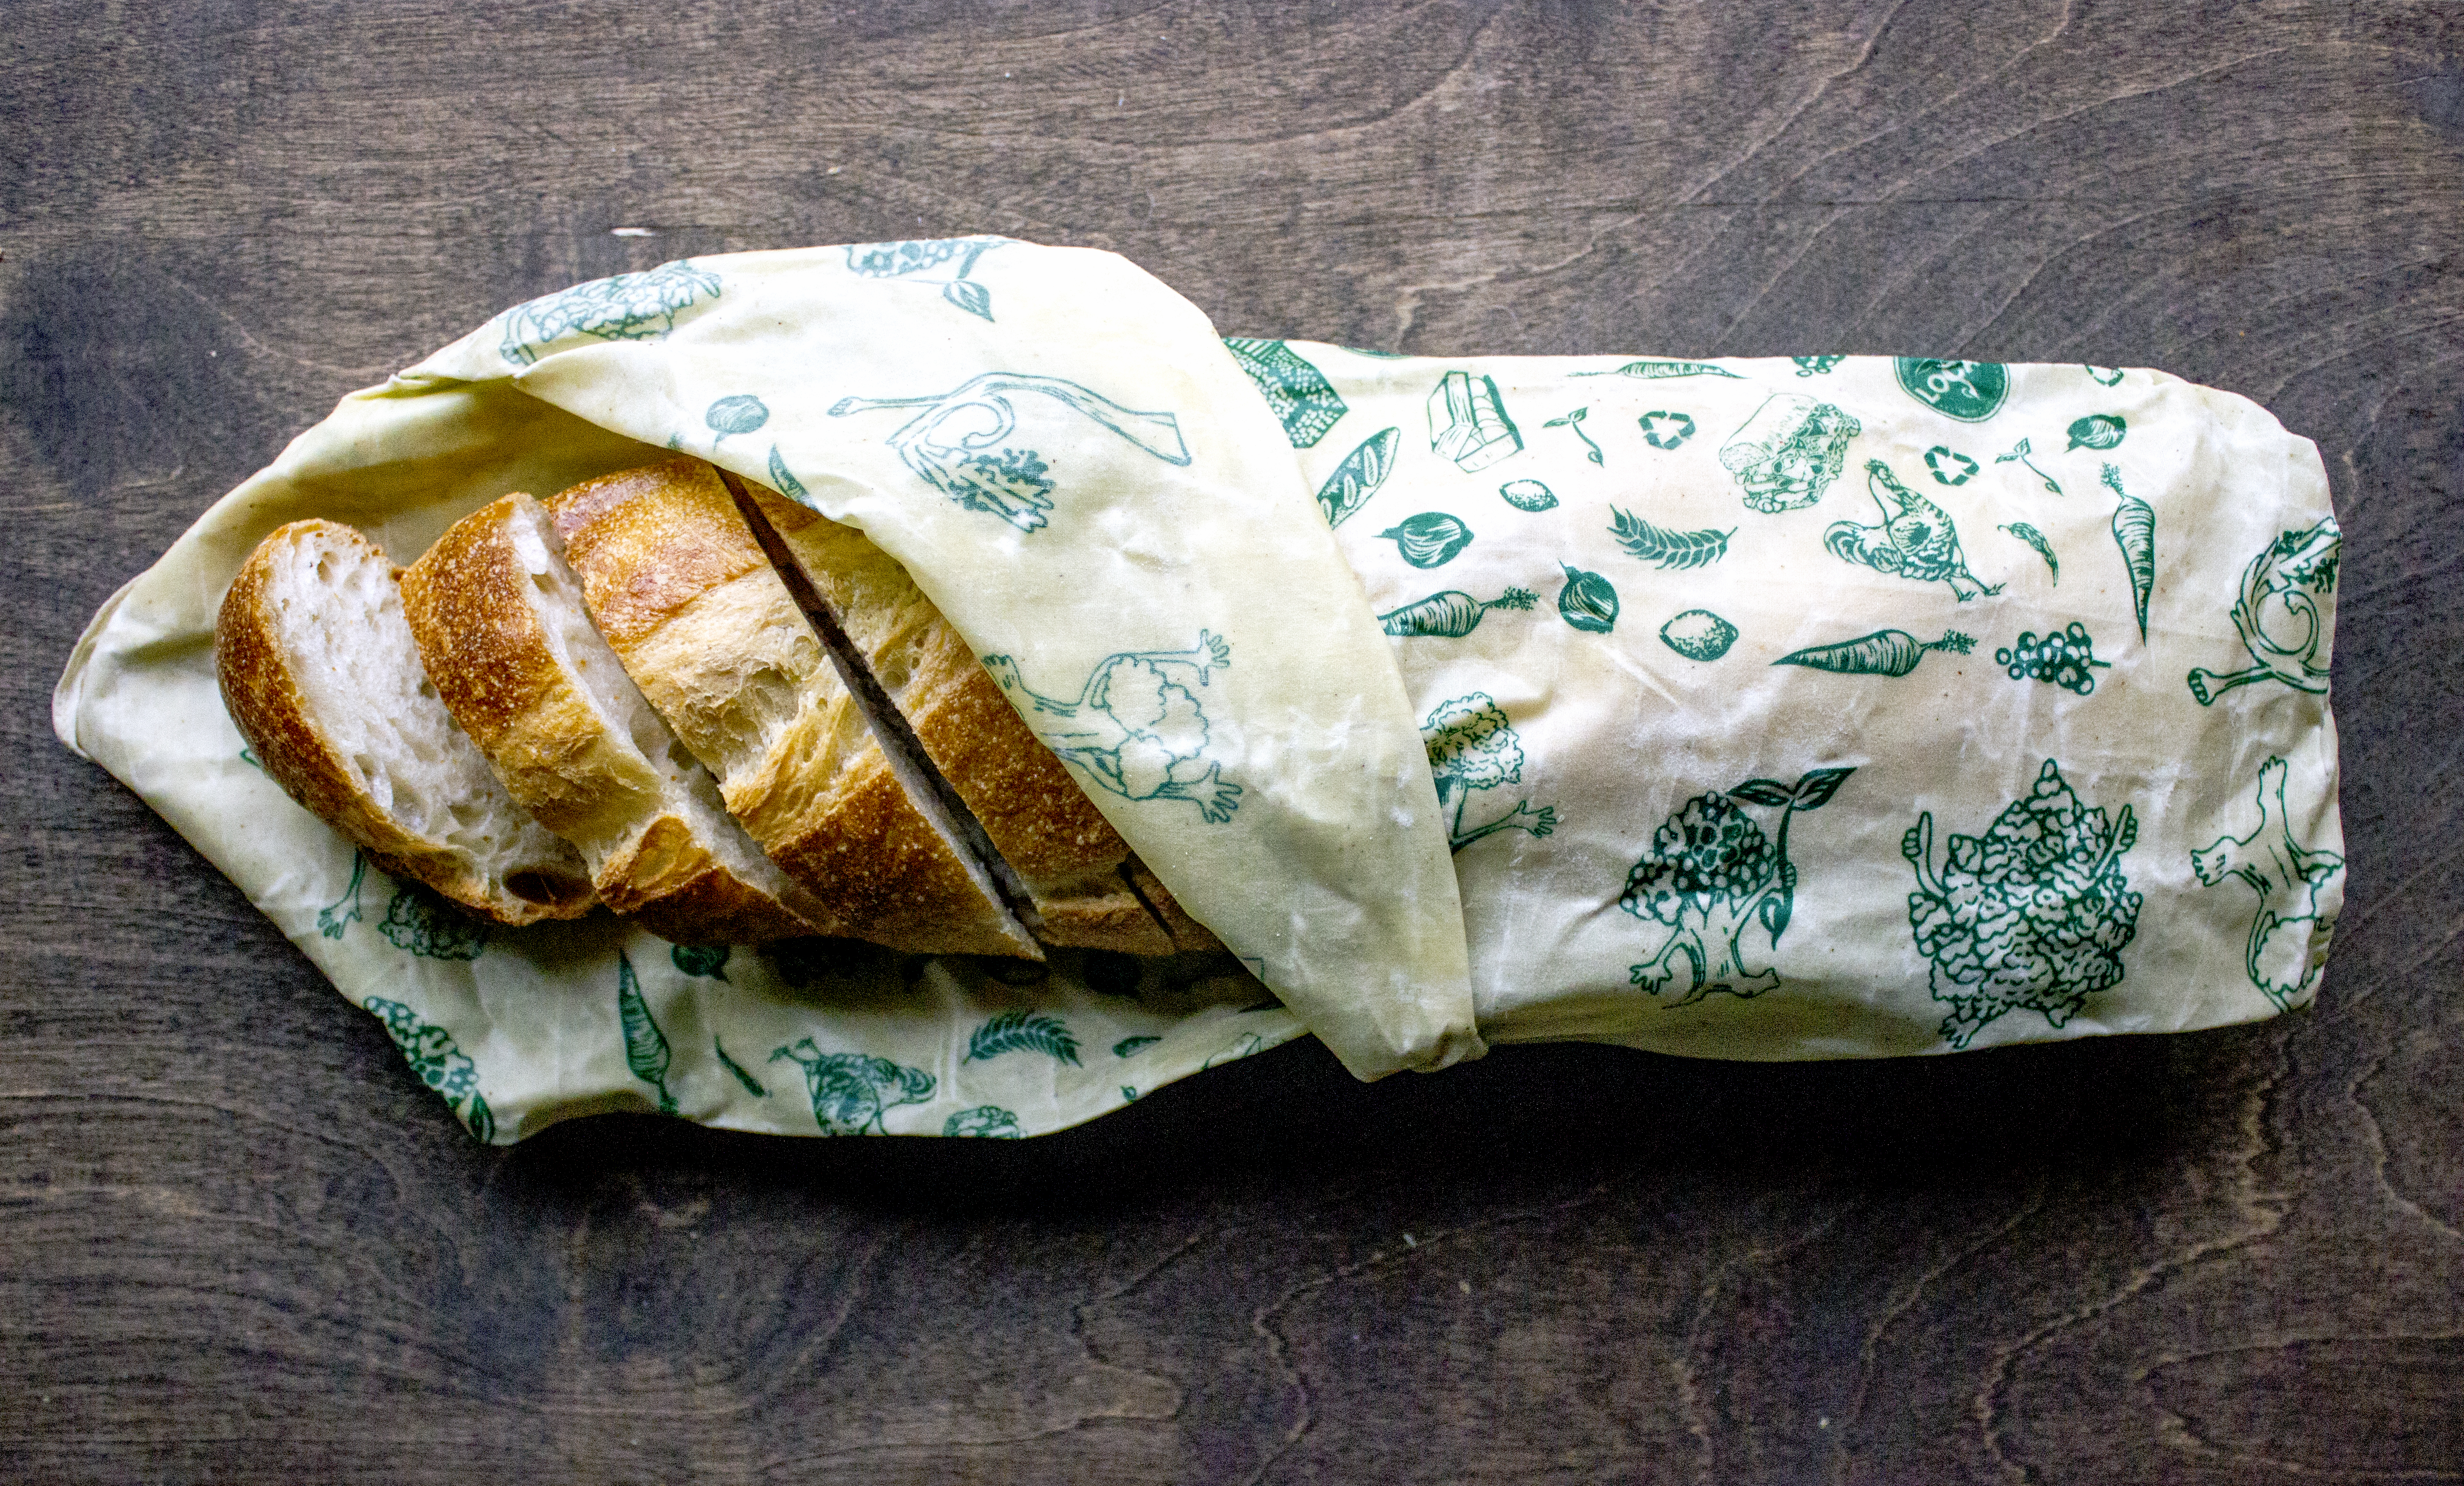
To use your beeswax wraps, rub them with your hands to warm up the wax before forming it to the bowl or container you want to cover. For wrapping items like cheese or a sandwich, fold as close to the item as possible and then fold ends and press them together. Use twine or rubber bands for a tighter seal.
To clean your new wrap, simply run it under cool water and use a sponge and mild detergent to spot clean as needed. Allow to dry before using. With thoughtful use and cleaning, your wax wrap can last for up to a year’s time and when you do need to invest in more wraps you can simply follow steps 3 through 7 to refurbish the wraps that you already have.
*Follow the directions for using your mandolin and set it to cut thin slivers. This tool is especially good if you are using a larger block of wax. You can also use a simple box grater (which is how we did it) to get shredded slivers. We found that this worked best with a smaller block. Slow and steady with the larger block, if you choose to grate it.